Smart Farming with LoRaWAN: Lakshantha

Project Description

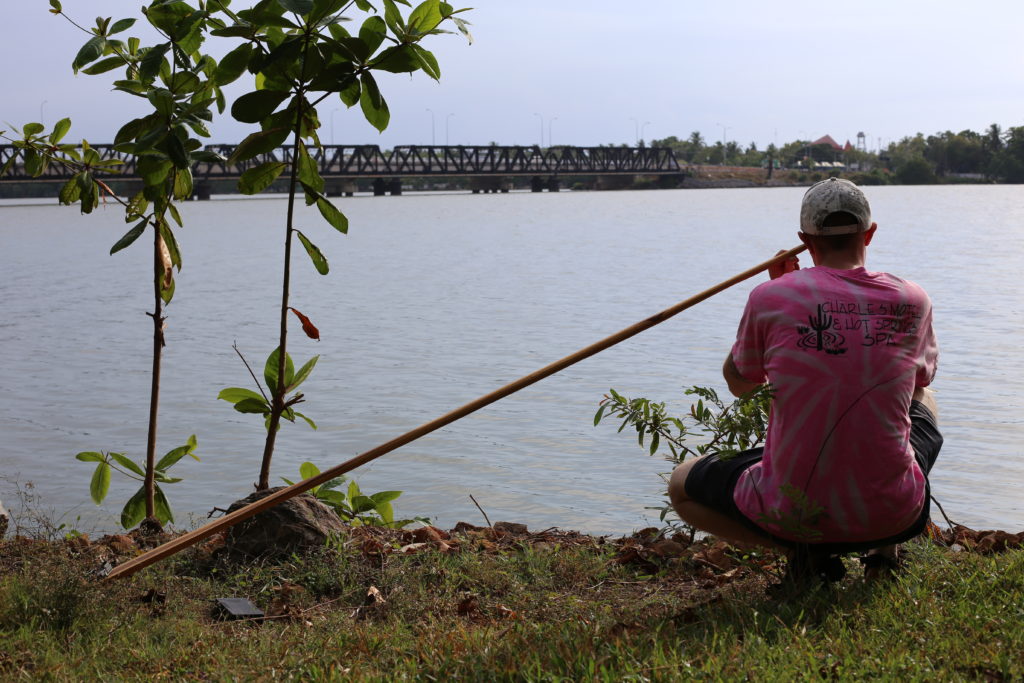
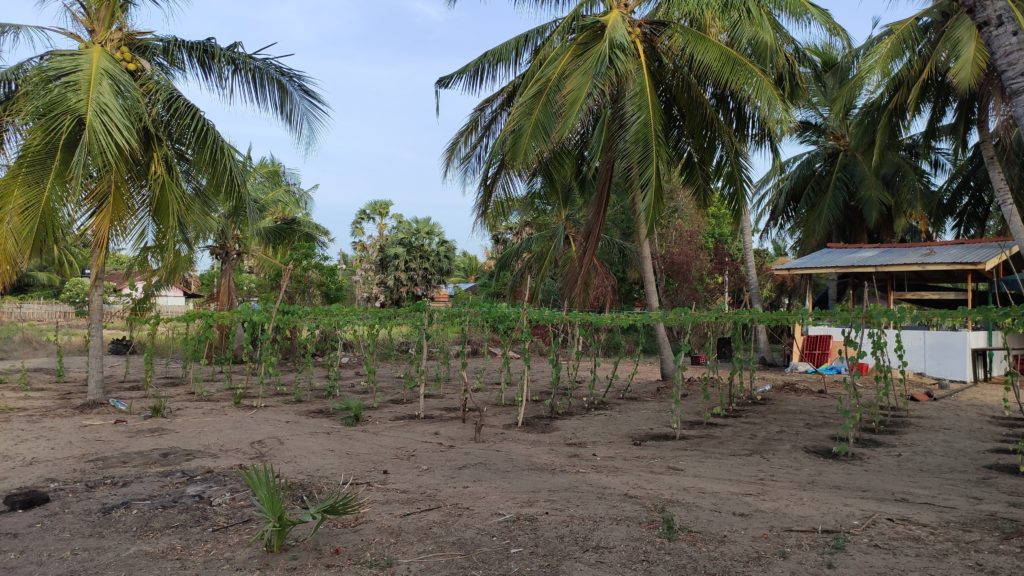
After scouting through the surroundings of DreamSpace Hive, I came across a Luffa farm and decided to make it ‘IoT-enabled” by hooking up several environmental sensors such as a temperature/ humidity sensor, soil moisture, and a light sensor to an Arduino-based microcontroller (Wio Terminal). Then came the challenge of sending this sensor data to the cloud for visualization. Since communicating via WiFi means you have to deploy the sensors within somewhat close proximity to a WiFi router, the other option was to use GSM. However, I went with using LoRa because it enables communication over very long distances. The sensor data from the sensors were sent to the cloud via a LoRaWAN gateway and the data was visualized on a dashboard. Also, the entire outdoor system was powered by solar.

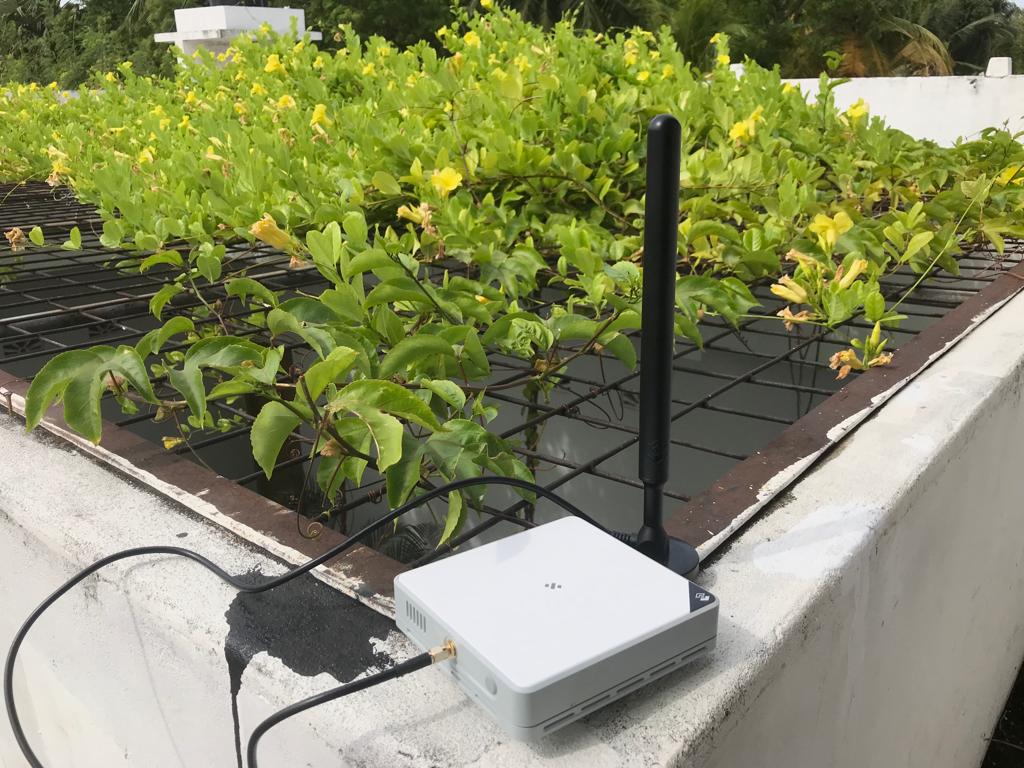
I set up a SenseCAP M2 LoRaWAN Gateway inside the DreamSpace Hive and was able to receive enough signal strength for the sensors that were set up in the Luffa farm which was located a little bit far away from the gateway. Also, this meant anyone at Dinacon was able to experiment with their own LoRa nodes by connecting with this gateway.

Making Process

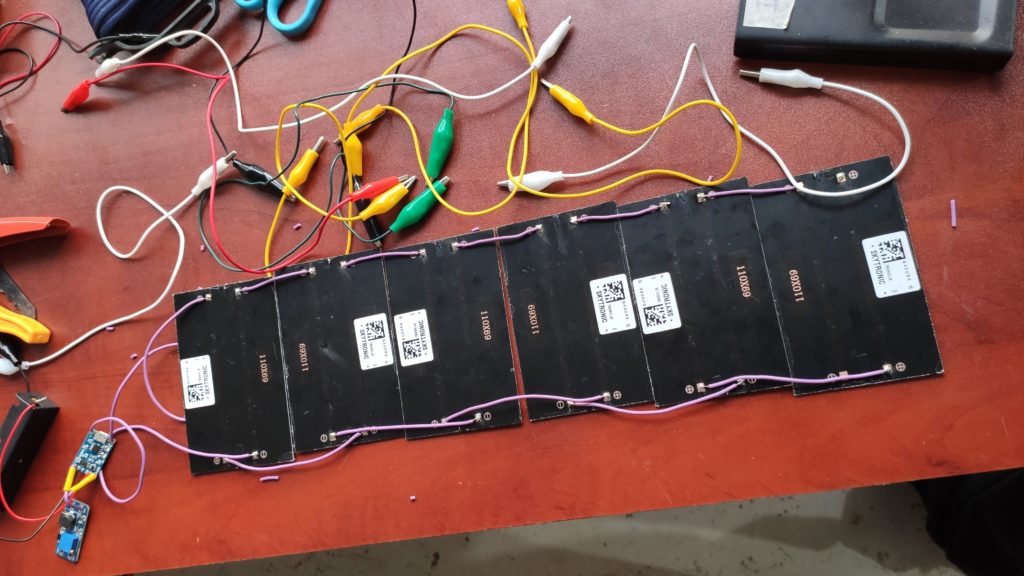
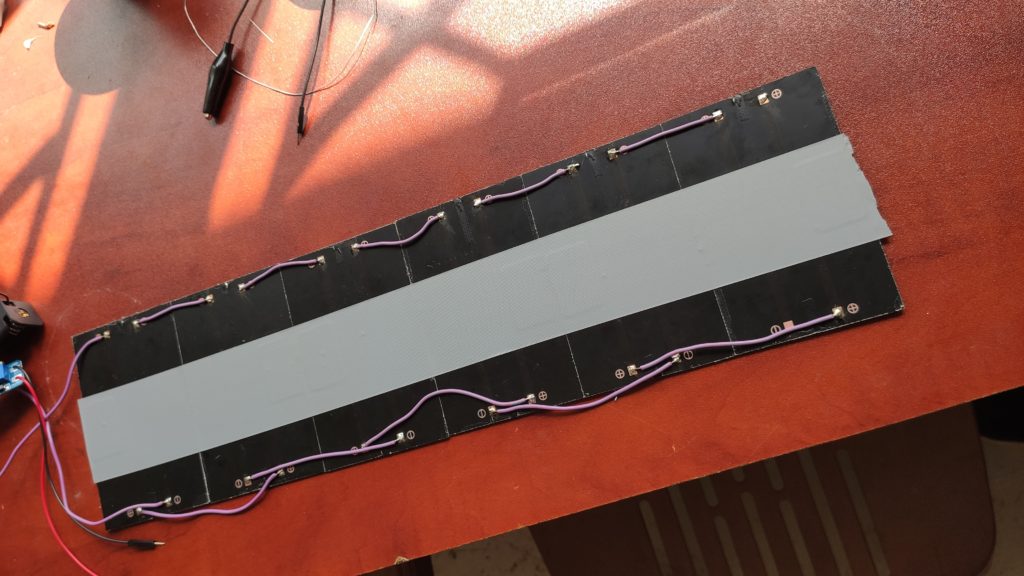
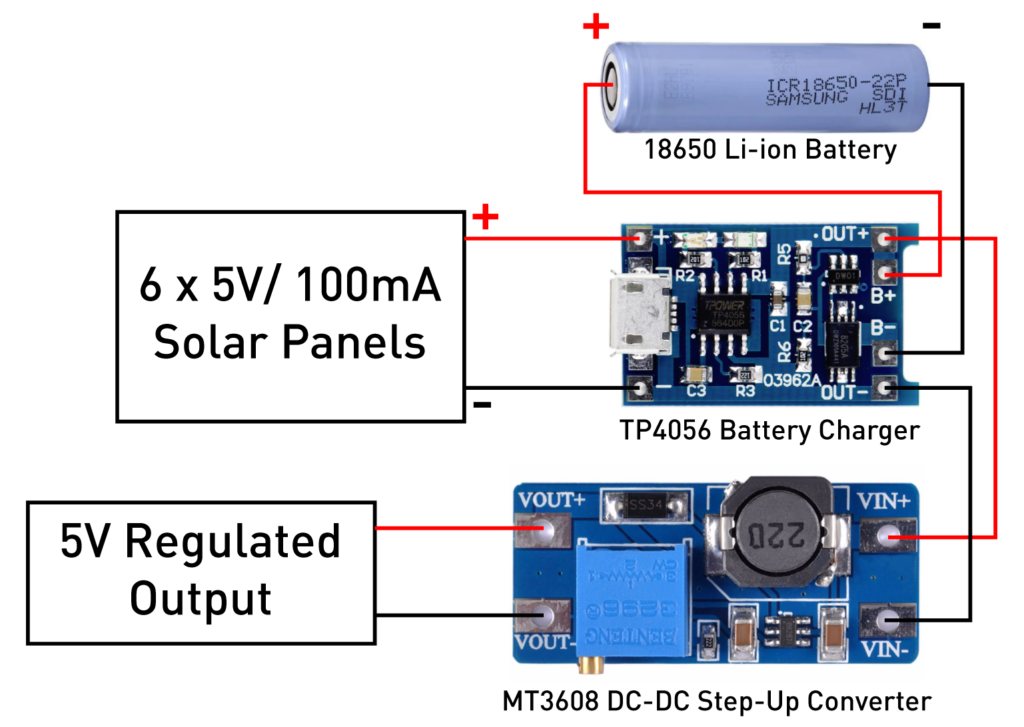
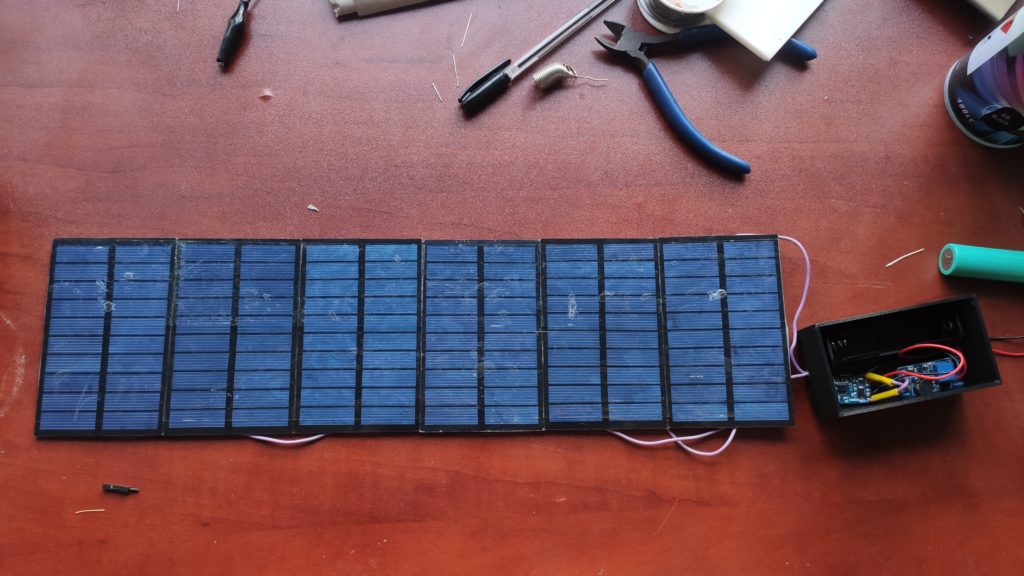
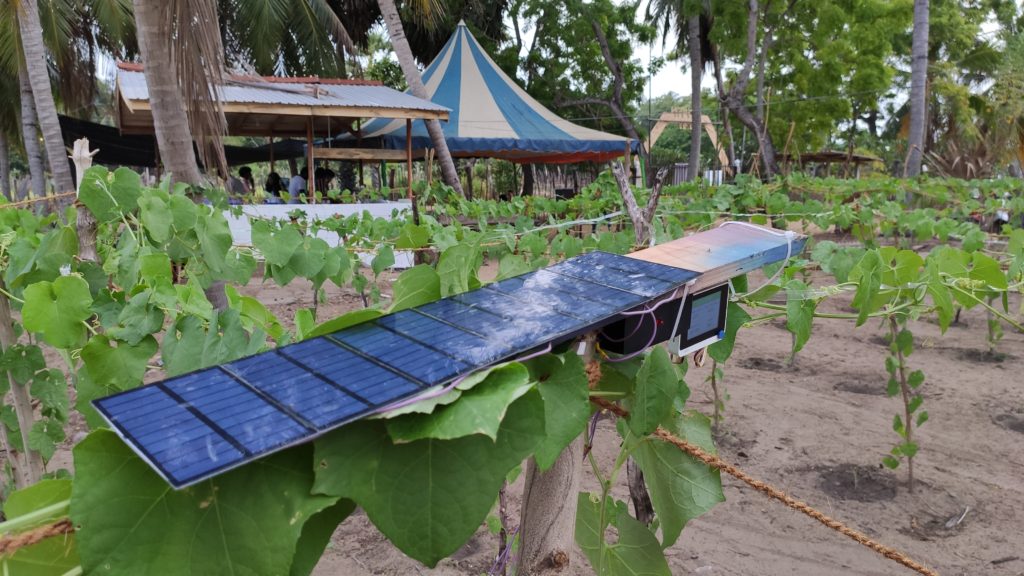
First of all, I had to make my project powered on all day long but there was no power outlet near the Luffa farm. So the only option to power it continuously was to use solar. So I hooked up 6 small solar panels (5V/100mA each)

All the solar panels were connected in parallel to obtain a total power of 5v/600mA

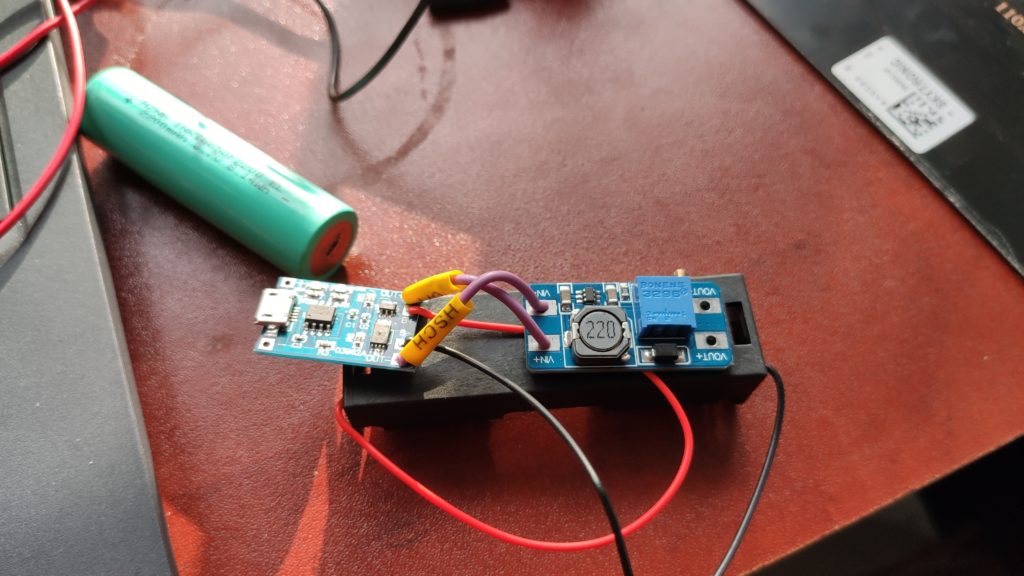
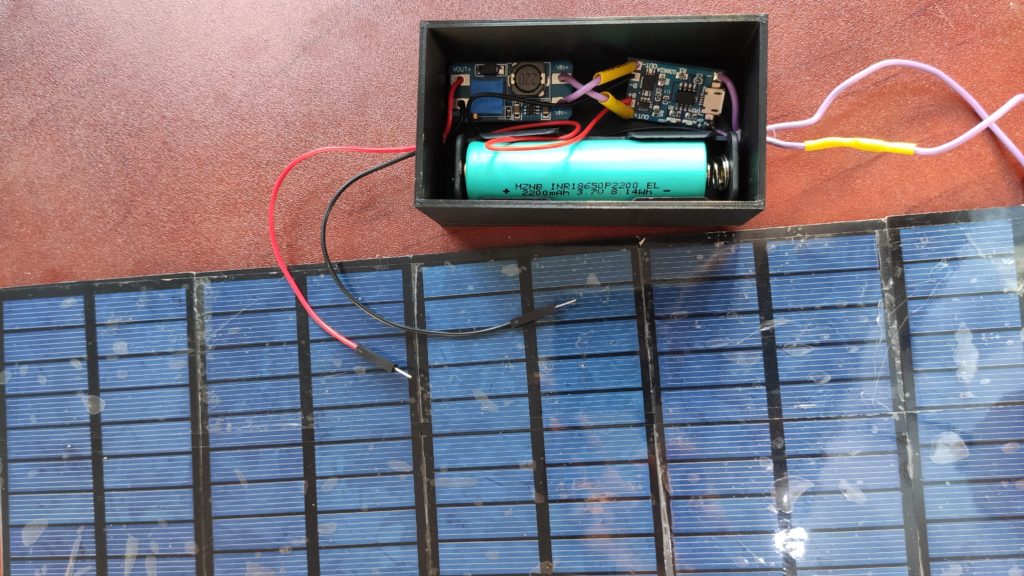
After that, I prepared a simple circuit with a TP4056 battery charger, a 18650 battery, and an MT3608 DC-DC Step-Up Converter. The idea was to connect the 18650 Lithium-ion battery to the TP4056 battery charger and connect the solar panel to the TP0456 so that the solar panel will be able to charge the 18650 battery. Also, an MT3608 DC-DC Step-Up Converter was used to keep the output voltage at 5V because the goal was to power the Wio Terminal using a regulated 5V input supply. After testing, I found out that even if the input to this converter changes from 2.7V – 4.2V, the output stayed at 5V. 2.7V is the voltage at which the TP4056 will cut off the battery from discharging and 4.2V is the fully charged state of the battery.

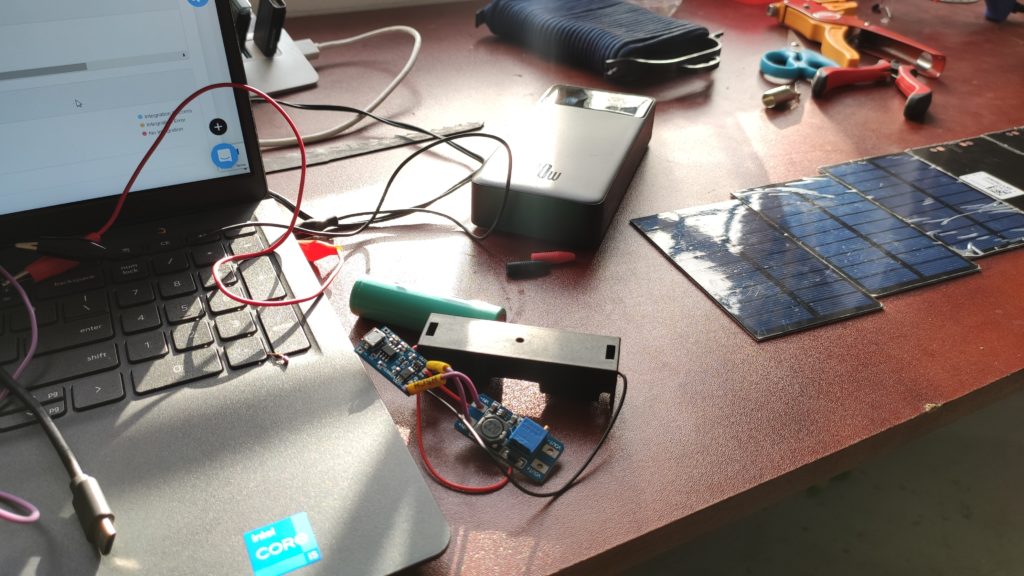
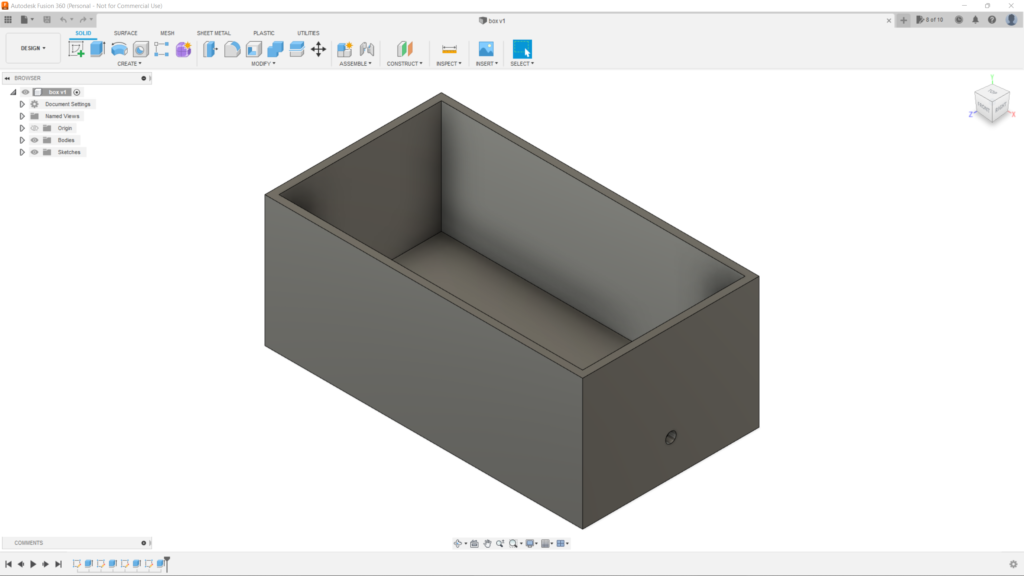
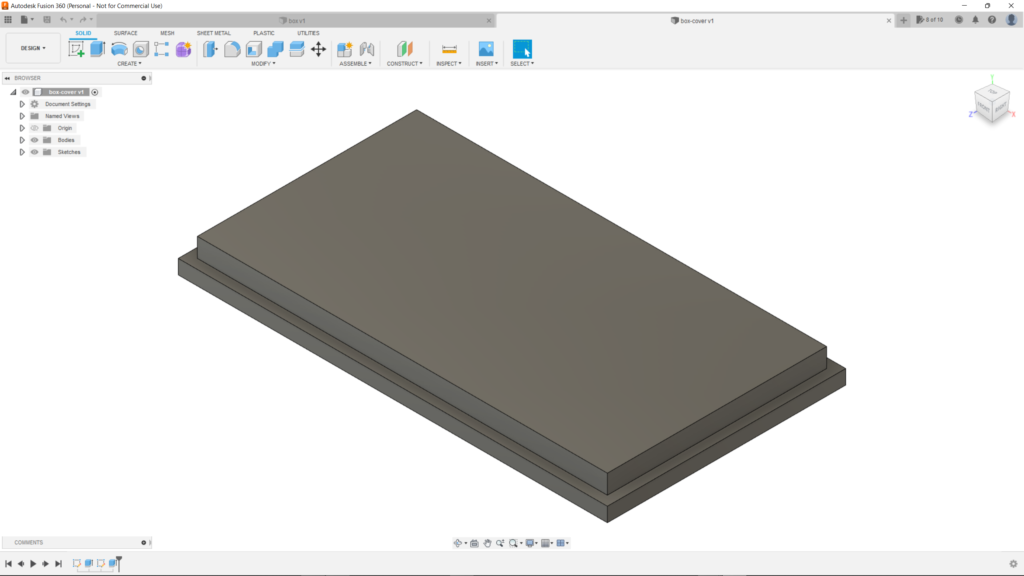
After soldering all the connections, I had a finished circuit. However, I thought of having an enclosure for this as well since it will be exposed outside. So I designed a simple box with a cover using Fusion 360 and 3D printed it!

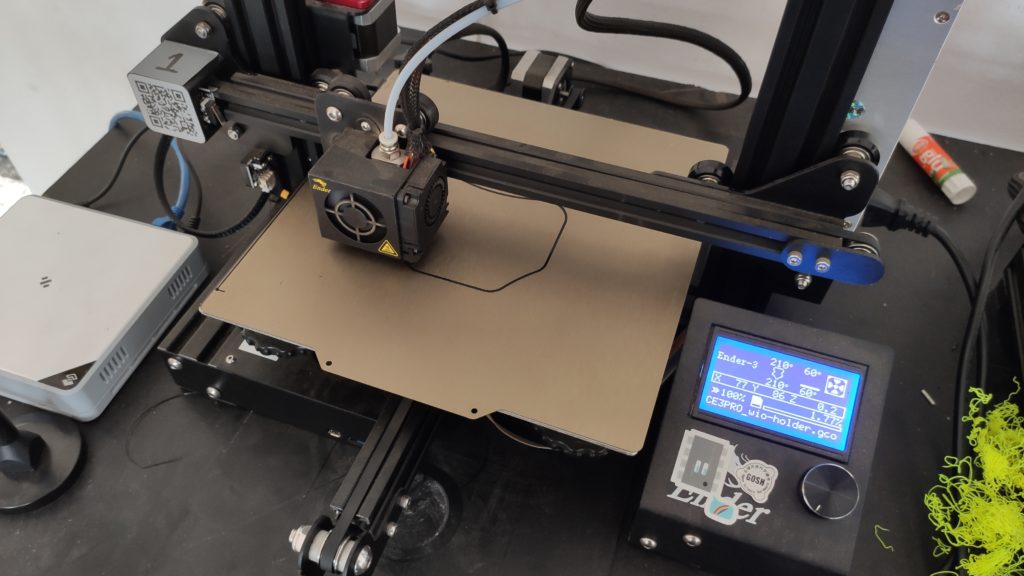
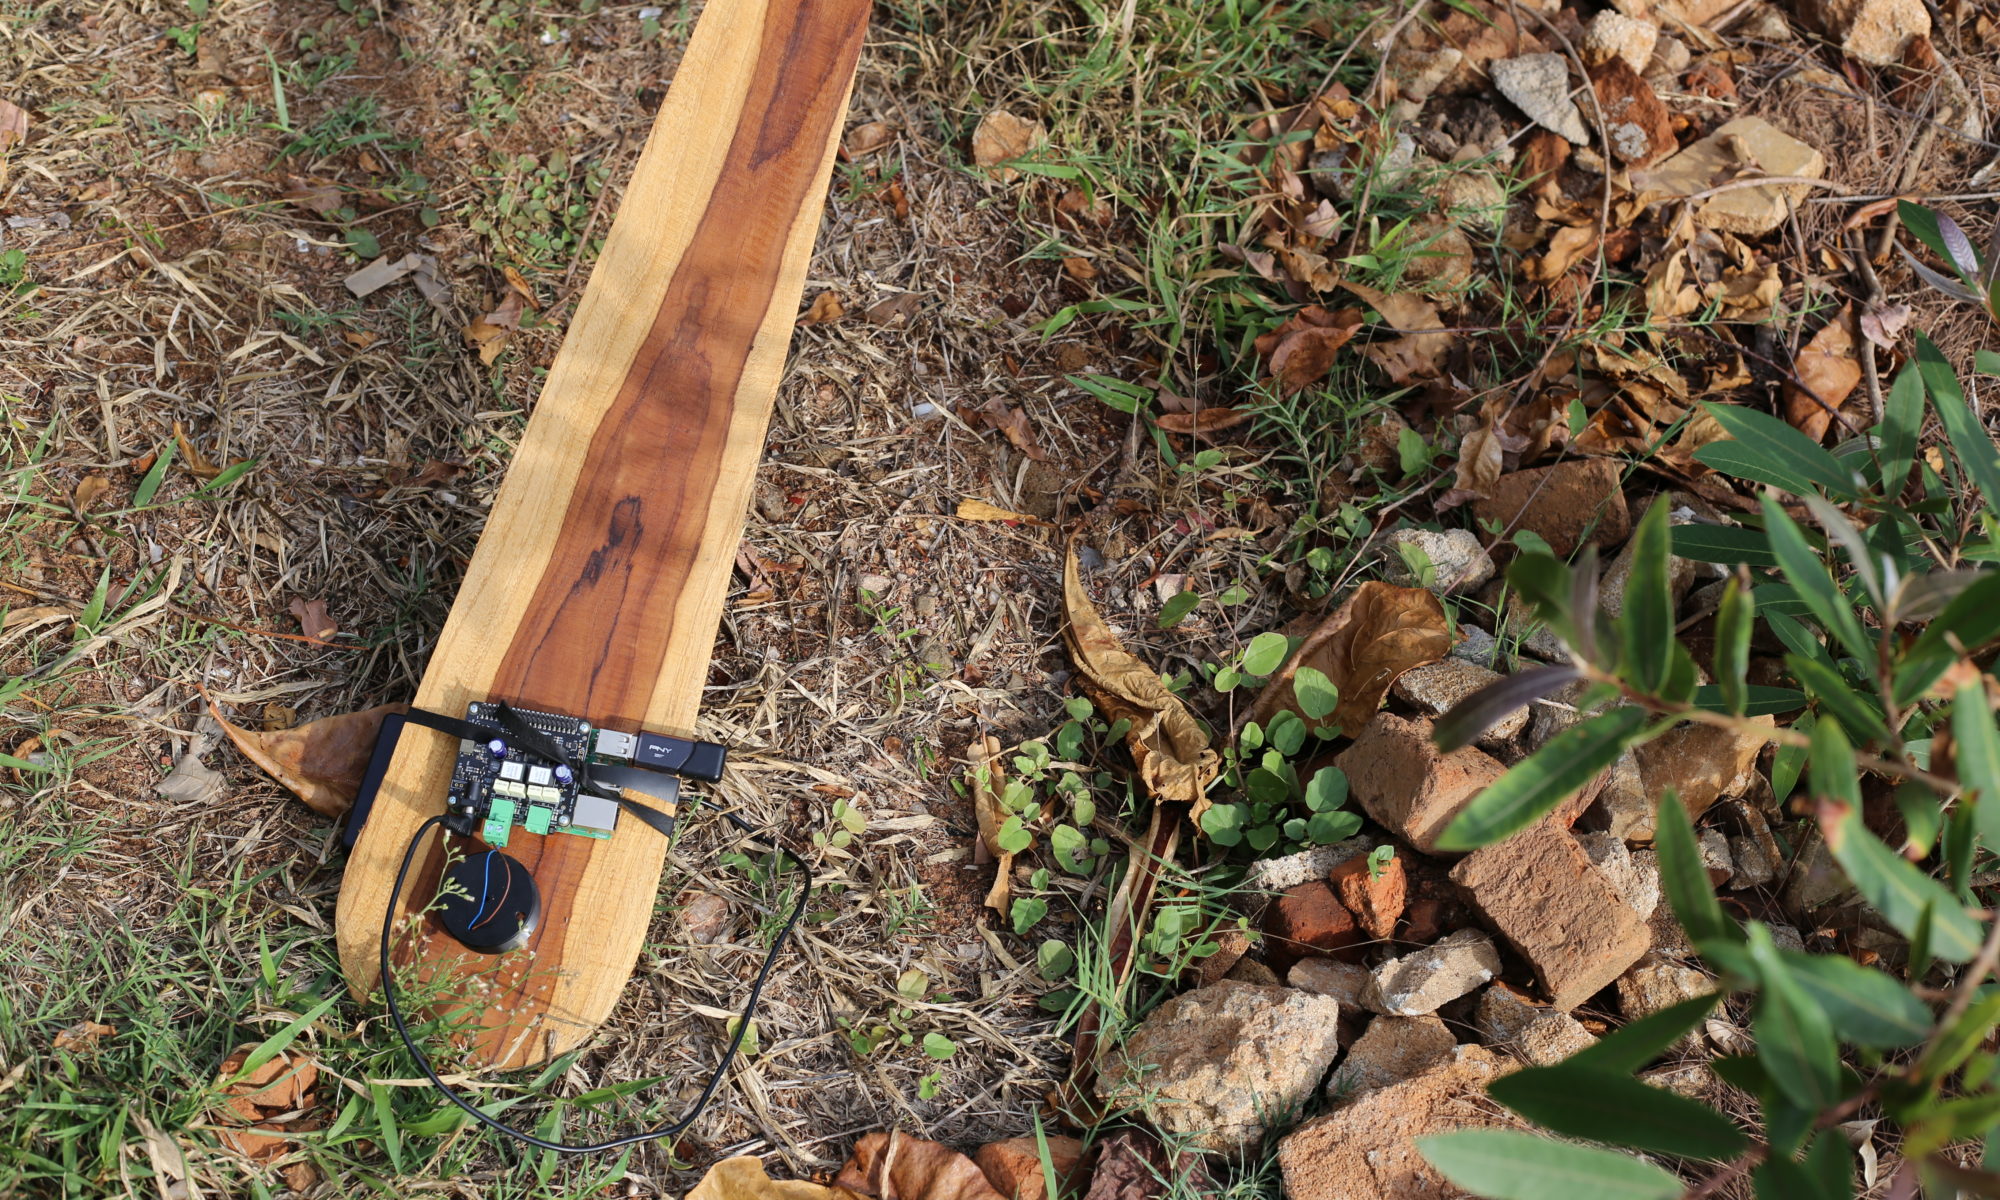
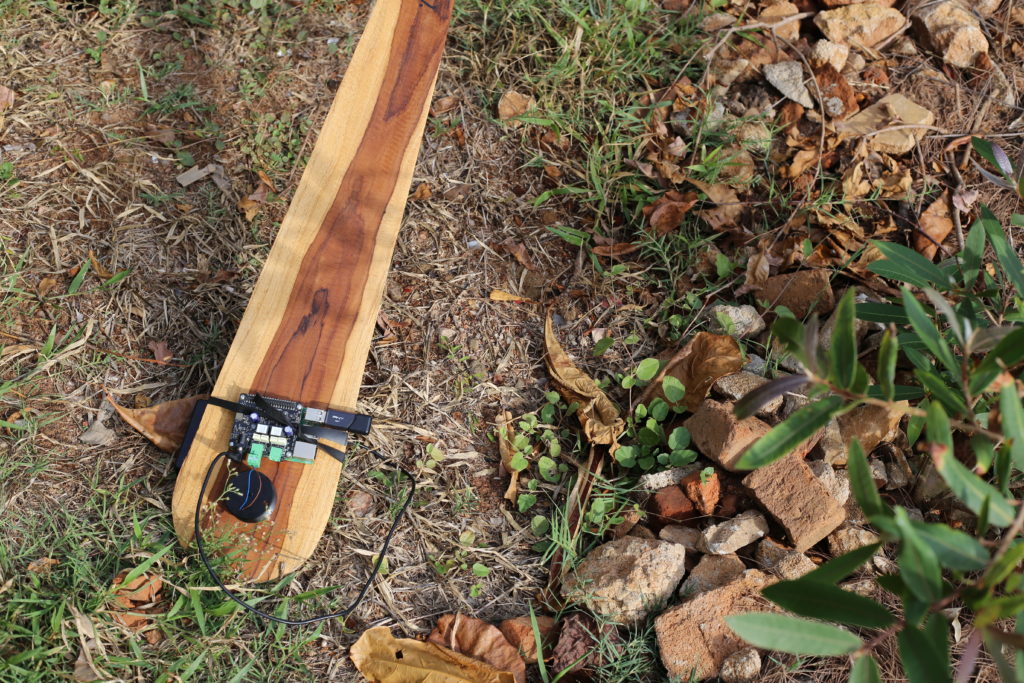
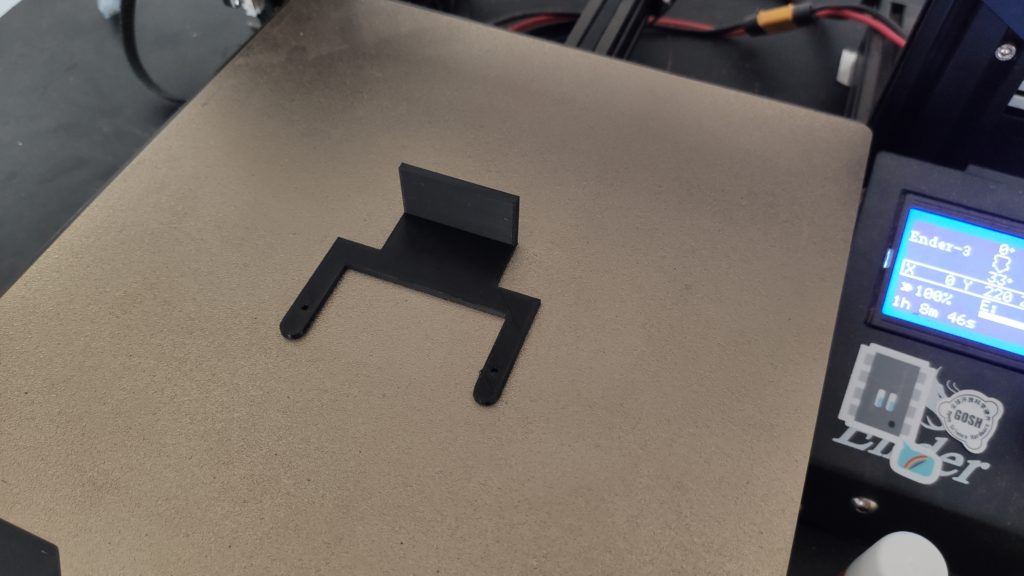
Also, I had to 3D print a small hanging structure for the Wio Terminal to hang from the wooden plank.

After the box was printed, I placed my connected circuit inside the box. Also, the inbuilt charge indicator LED on the TP4056 board was replaced by a bigger LED which is exposed outside to clearly check the charging status of the battery.

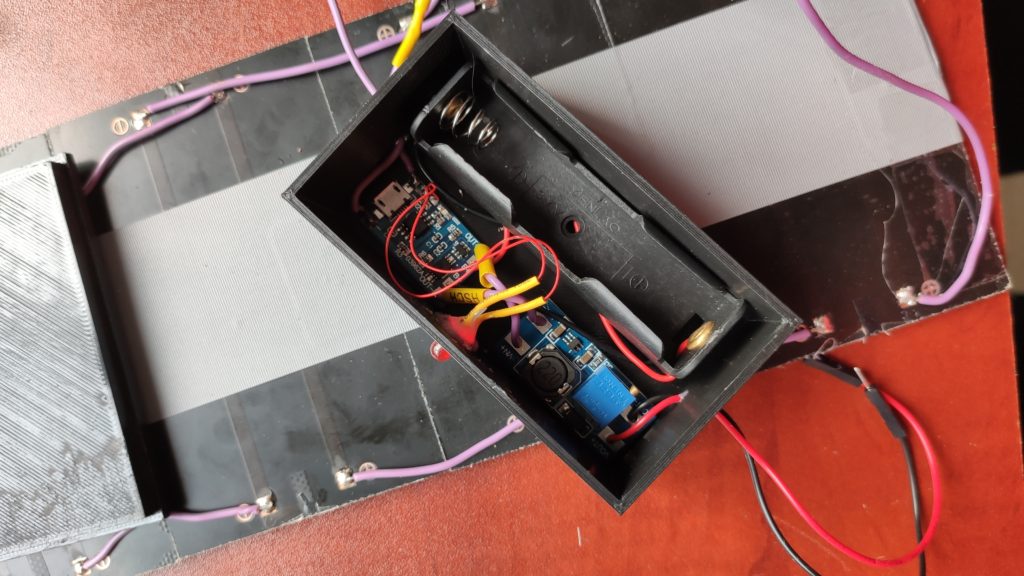
The battery was installed afterward

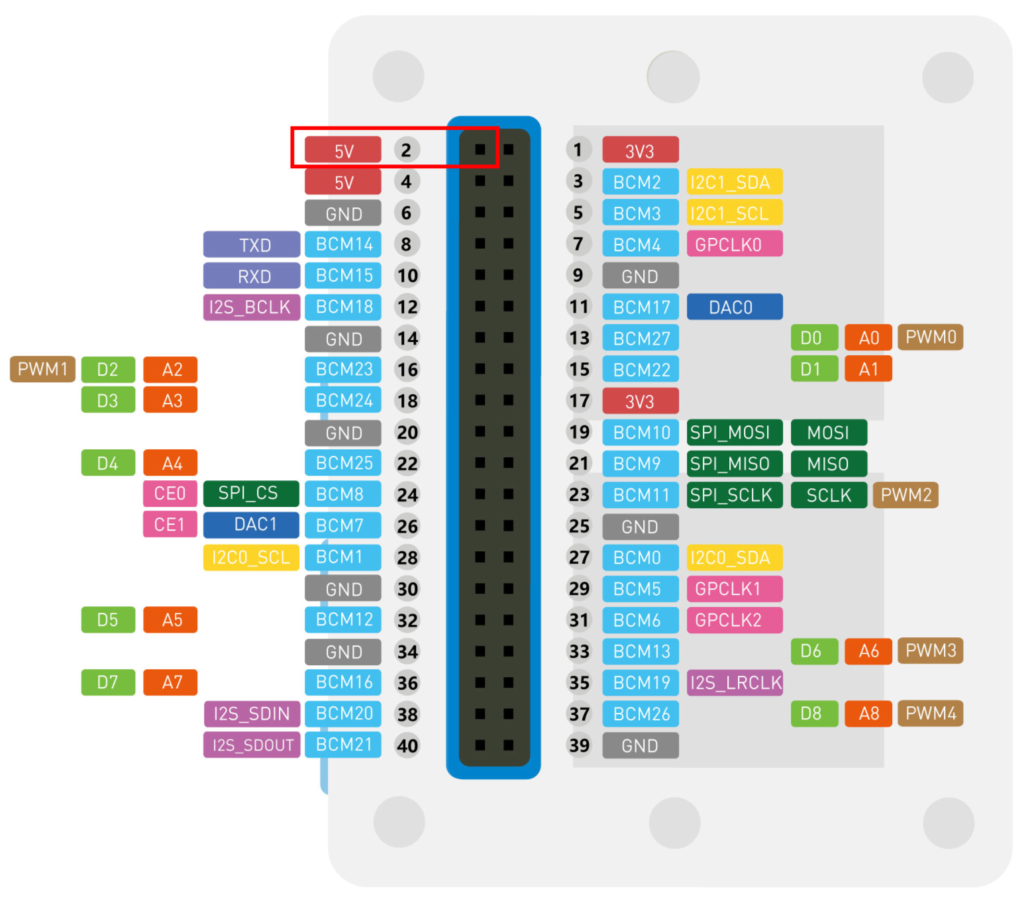
The regulated 5V output from the circuit above was connected to the 5V pin of the Wio Terminal

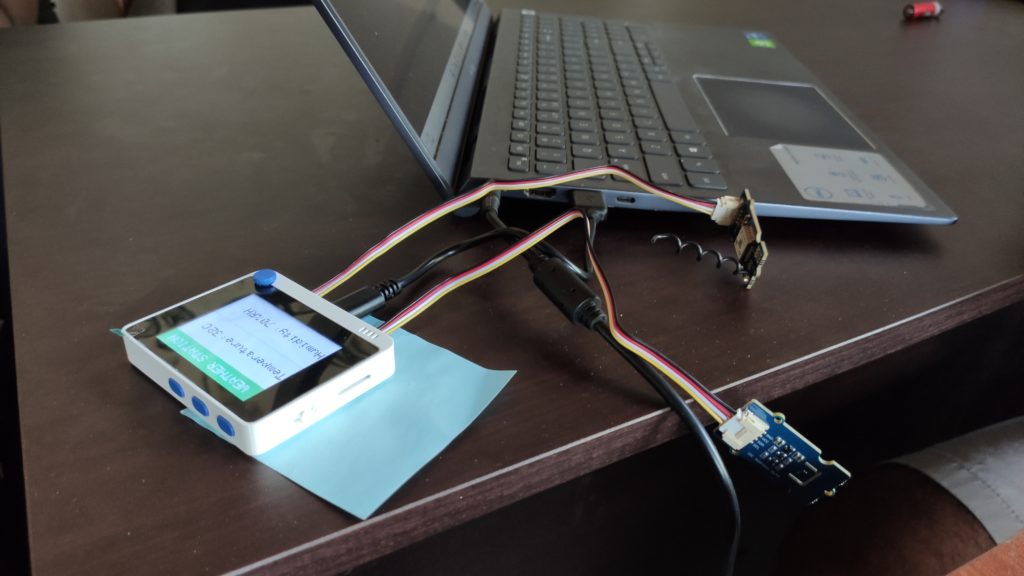
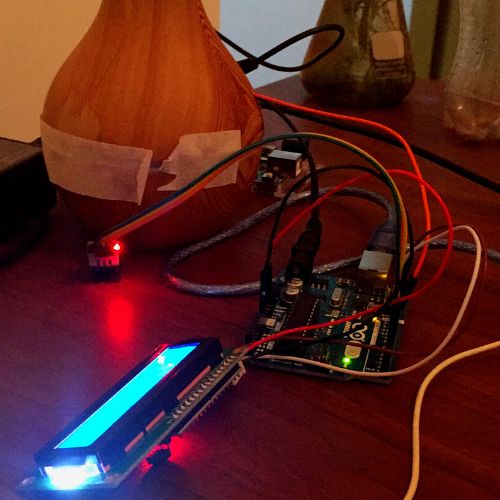
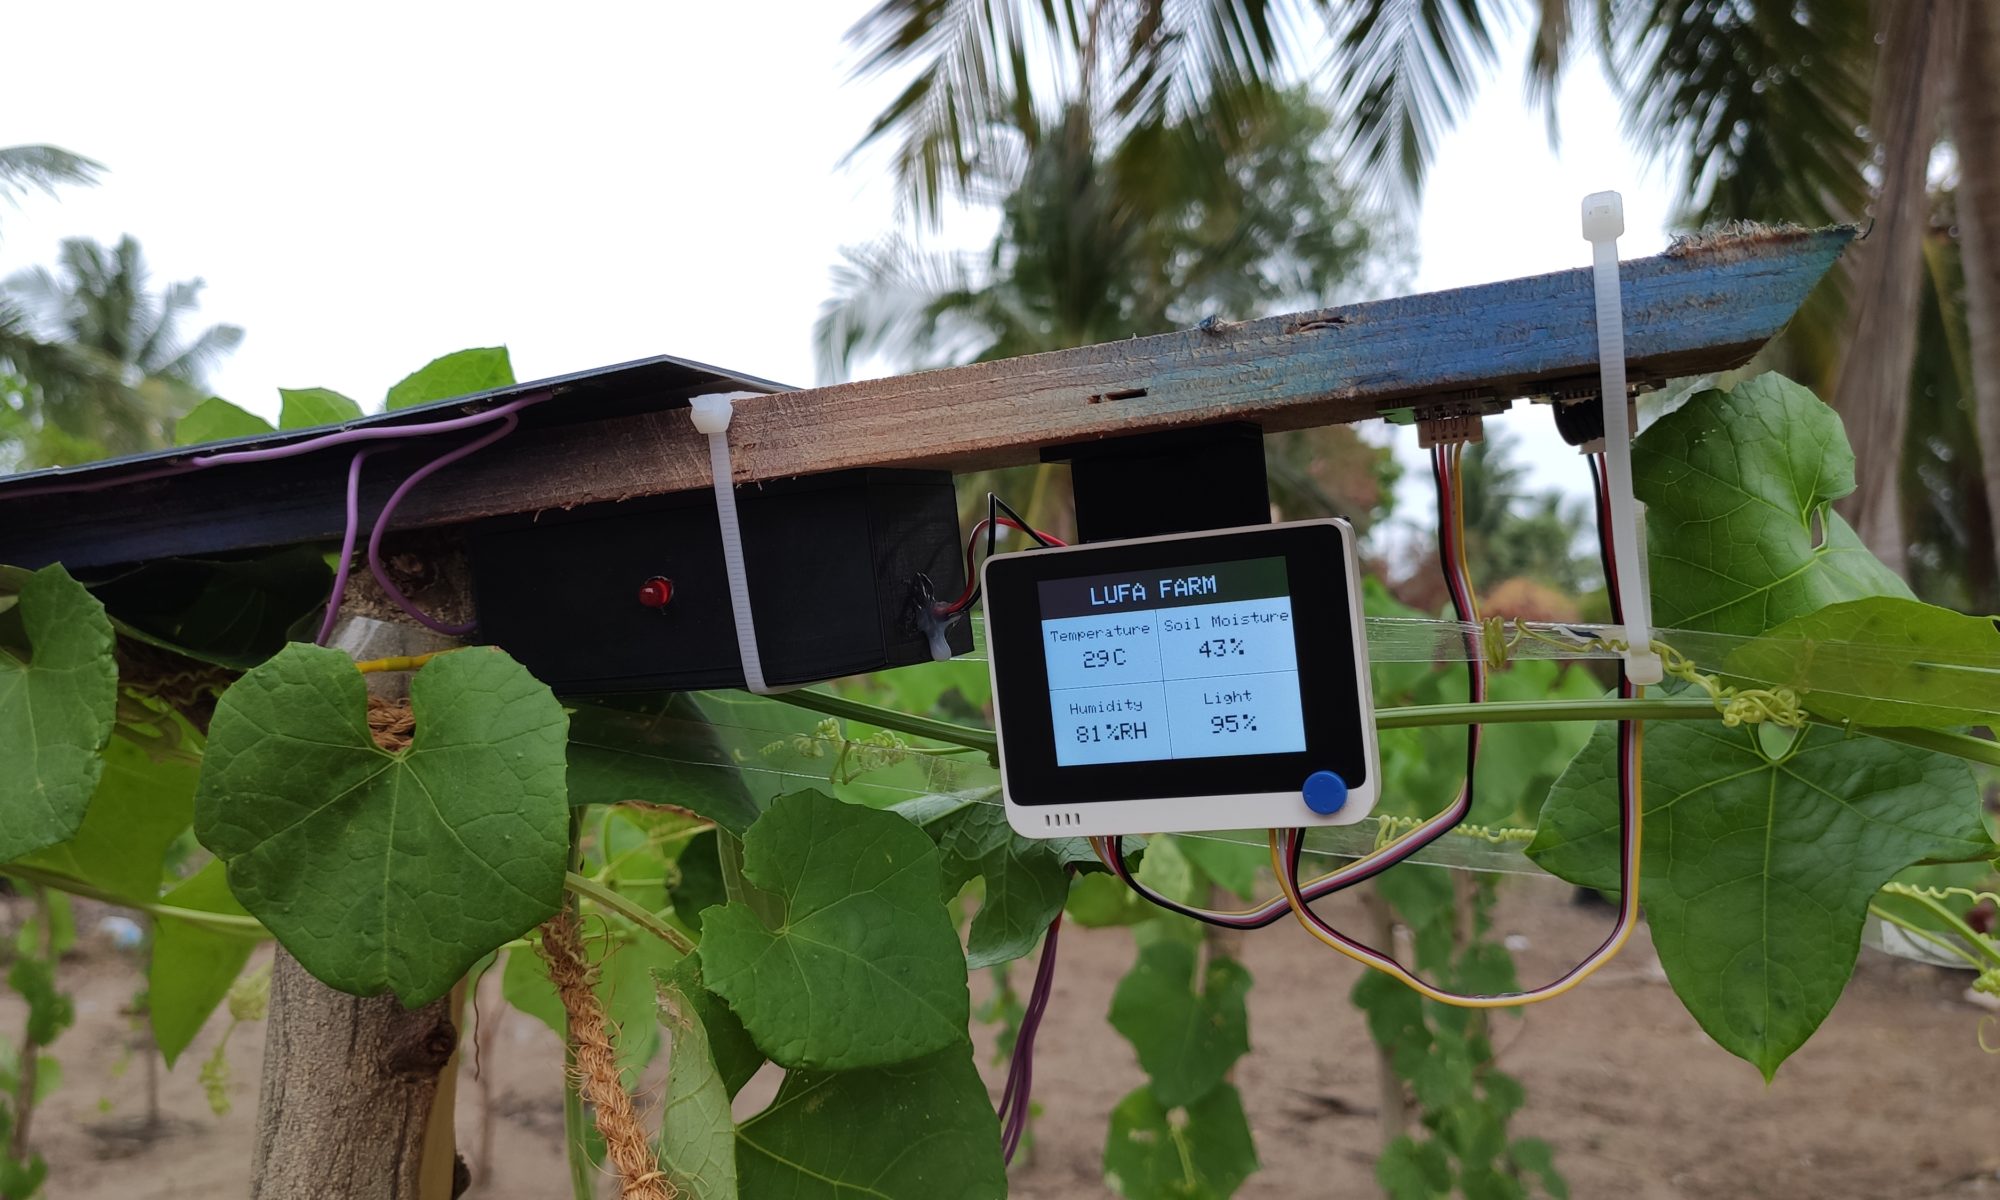
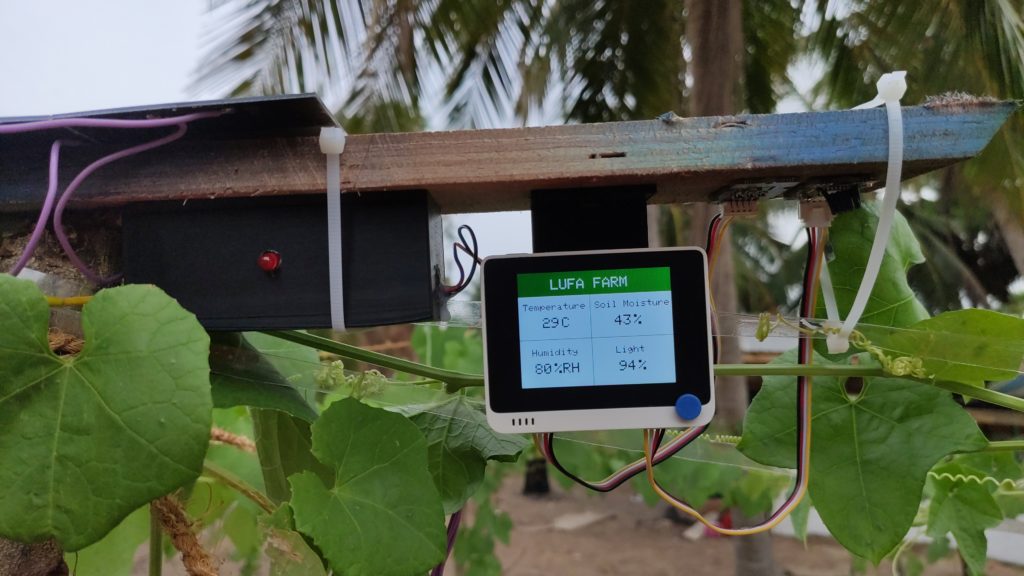
Then the connected output from the MT3608 was connected to a Wio Terminal which was also connected to a temperature and humidity sensor, LoRa transceiver, and a soil moisture sensor. After doing a little bit of programming, the entire system was deployed at the Luffa farm.

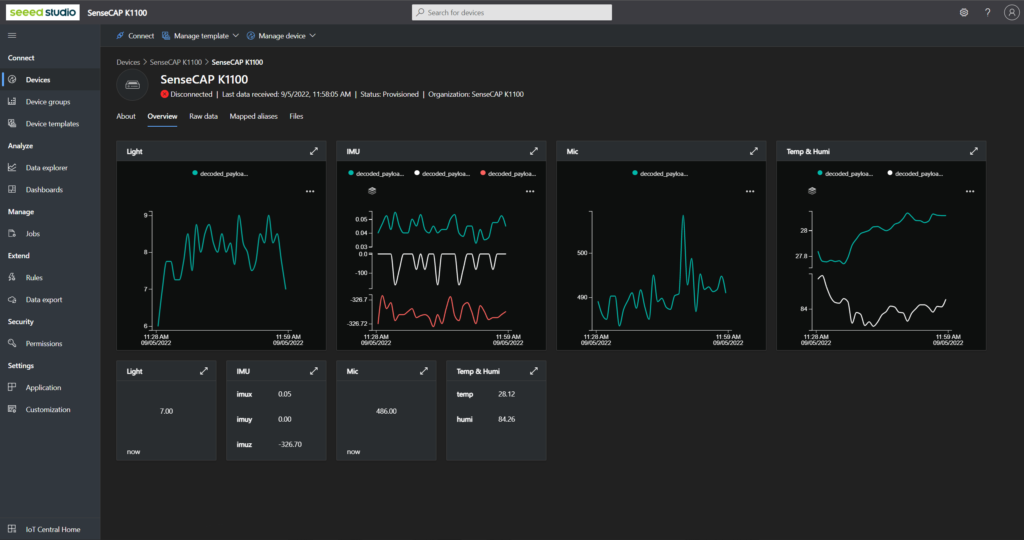
Finally, all the data from sensors were sent to the LoRaWAN gateway setup at DreamSpace and then that data was pushed to the Helium LoRaWAN network server. After that, the data was sent to Azure IoT Central to easily visualize on graphs!

LoRaWAN with Arduino Workshop

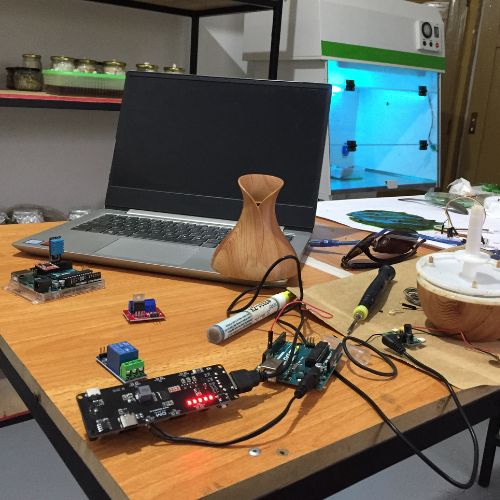
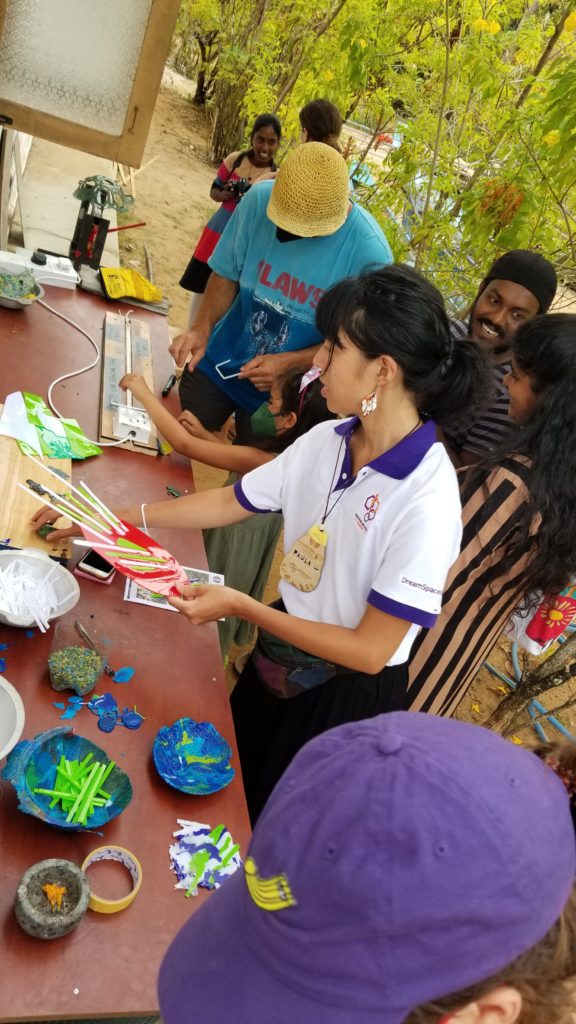
I also conducted a workshop to teach about how to use a microcontroller, connect environmental sensors, code using Arduino and send sensor data to a LoRaWAN gateway!

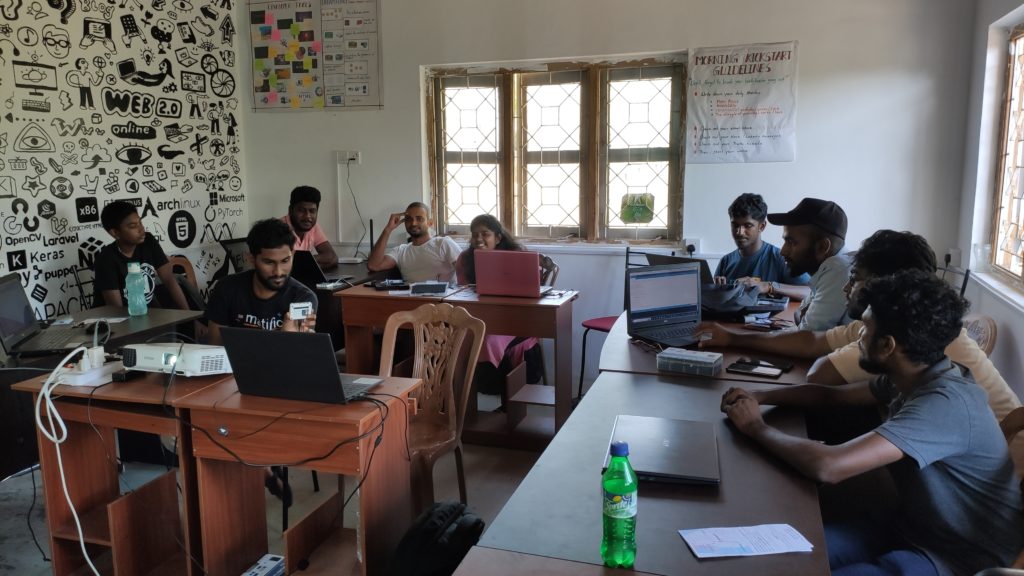
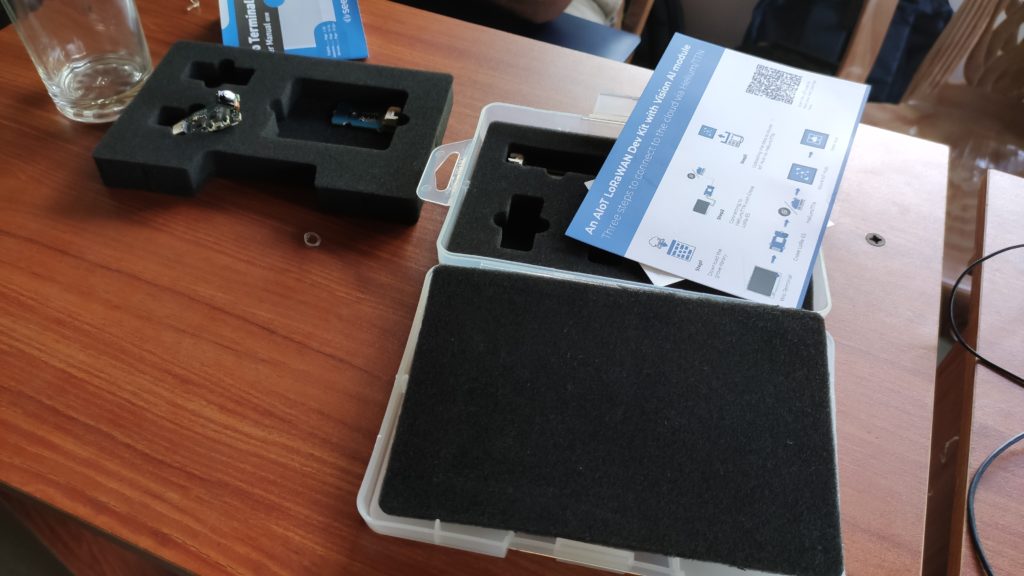
For this workshop, I used a SenseCap LoRaWAN Dev Kit in combination with a SenseCap M2 LoRaWAN gateway and taught the attendees how to use the Wio Terminal (Arduino-based microcontroller) to view the data from a connected temperature and humidity sensor on the in-built LCD, send the obtained data to the SenseCAP M2 LoRaWAN gateway and then to the Helium LoRaWAN network sever to visualize the data on dashboards!

Mushroom-Mushroom Lamp – Cris Silva

Mushroom-mushroom Lamp was a part of the Dreamfungi project which is a  grassroots innovation project to locally research, develop and produce a biocomposite material using mycelium as an alternative sustainable material for packaging, construction, apparel and accessories industries.

Mushroom-mushroom lamp

Mushroom made out of mushroom (mycelium) material was just a thought that came out from delegates Dinacon 2022 at DreamSpace BioLab.  By the time this idea came in Cris and Pramo already figured out how to make mycelium biocomposites with locally available biomass and fungi. 

Contributors: Cristian Silva (Cris), Pramodya Saumyamali (Pramo), Brian Huang and Tali

How did we make a Lamp?

Making molds for the lamp

Tali and Pramo wanted to make the molds quickly with coconut shells (the cap of the mushroom) and cardboard roll (the stem of the mushroom). A PVC pipe was put inside the cardboard roll to make space for light and wire to go inside the mushroom stem. 

Bio fabrication of mushroom lamp

Cris did the mycelium fabrication of the lamp with molds made by Pramo and Tali. He used Ganoderma fungi to make mushroom lamps with sawdust. After 5 days he took mycelium material out of the molds and let it grow for another few days in a growth chamber. After leaving the mushroom lamp in the growth container it got the distinct colour and texture of mycelium material.

The lamp is growing in the growth chamber

Adding the lights for the lamp

Brian made and gave one of his LED lights from the AnyLamp project. The light was set up at the bottom of the mushroom stem. 

The mushroom-mushroom with AnyLamp

The Fluffynator – side project

Contributors – Cristian Silva (Cris), Brian Huang, Saad Chinoy, Marc Juul

Fluffynator is an old aroma therapy humidifier turned into an automated humidifier for making mushroom objects like the mushroom-mushroom lamp. It facilitates mycelium mat growth on top of the biomass once it is taken out of the mold and placed in the growth chamber.  Arduino Uno, a temperature and humidity sensor (DHT11), LED screen and a switch were used to make the whole hack works with an old humidifier.

work in progress
Fluffynator

How it works: 

The humidifier has five modes and the last mode is the off mode.  The humidifier previously had a touch sensor which was damaged and rusted. It used to be the switch that turns off the humidifier or the change modes. We removed the rusted sensor and connect it to Arduino with a wire. Arduino can change the modes with electric pulses to the IC of the old humidifier. We then add a new switch to Arduino to change the mode to off mode before Arduino Uno and the humidity sensor starts taking measure measurements (every time when we turn on the humidifier by giving it power, we have to press the switch and make sure the humidifier is off (then everything is in synch!).  When humidity is above 70% Arduino sends 5 eclectic pulses to the humidifier to shift through different modes and finally to the off mode. Once humidity is below 70% it again gives a pulse to turn the humidifier on. In this way, fluffynator maintains the humidity inside the mycelium material growth chamber without manual interventions.

Sonic Oar: Ashlin Aronin

Ashlin listening to the singing fish through their sonic oar

Original project description

I’d like to explore the lagoon of Batticaloa and record the sounds of the singing fish with a hydrophone, then create an installation in a public area so everyone can listen to them. I read that local fishermen put the ends of their oars in their ears to amplify the sounds of the fish, so I’d like to incorporate oars into the installation to pay homage to this practice.

How it turned out

Due to the logistical situation on the ground, I had a bit less time than anticipated to finish my project. However, with help from a few friends I succeeded in creating the Sonic Oar.

I had heard that the singing fish were loudest and most active just around the full moon. Though I arrived about a week after that, I found the fish still active around 10pm each night when I started recording. I didn’t do particularly scientific research to determine exactly when they started and stopped, since my project focused on the sounds themselves more than their behavior.

One night I recorded off one of the fishing platforms at the Riviera Resort, dipping my hydrophone just a few feet into Batticaloa Lagoon. It was amazing how immediately their gargling, froggy croaks became audible. There were obviously many fish vocalizing simultaneously. However, with a monophonic hydrophone it was hard to localize how many fish there were or how far apart they were. It would be fun to come back with a stereo pair of hydrophones to get a better sense of how they are moving or not moving and how spaced apart they are. I’ll be bringing a pair of hydrophones on my next underwater recording project!

The next night Lucii and I followed in the footsteps of J.W. Lange and recorded from Kallady Bridge. From the middle of the bridge, we lowered the hydrophone about 15 feet below the water, noticeably deeper than at Riviera. The fish were audible, but there was more background noise from traffic on the bridge, even at that depth. We tried another spot towards the eastern side of the bridge, and the fish were much quieter – in fact, barely audible.

Creating the sonic oar installation itself turned out to be quite simple. I learned from my experience at Dinacon 2 in Gamboa that power is one of the most crucial components of any hacking project. Since I wasn’t sure exactly what would be available in Batticaloa, I brought a battery pack and all the cables and electronics I needed with me. All I needed to do was record the singing fish, load up the recordings onto an SD card, find an oar, and attach the electronics to the oar.

I also learned that when using a Raspberry Pi for media playback purposes, it is helpful to set up a script so that you can load new media files via an SD card without having to boot up and connect to the Pi. Here’s a gist that explains my Raspberry Pi set up. I ultimately included a playlist featuring one of the recordings Betty had made at the full moon from a boat, along with one of mine made from the shore at Riviera Resort.

Electronics set up on the end of the oar

The basic setup for the electronics was a Raspberry Pi with a IQaudio DigiAMP+ hat on it, a 12V battery (behind the oar in the photo above) powering the amplifier and a Surface Transducer from Sparkfun. A startup script on the Pi played back audio files from an inserted SD card, and the sound was amplified through the DigiAmp+ hat and sent through the surface transducer, which turned the surface of the oar into a speaker.

The surface transducer was attached to the blade of a local fishing oar, that I was told was made of mango wood. This was a happy surprise for me, since mango is known for its resonance and is used to make some musical instruments.

Once I got the electronics set up, I was able to hear the recordings through the wood for the first time. I was surprised at how well the sounds transferred through the surface. I used a set of in-ear binaural microphones (which record sound in a way that mimics how our ears do) to record myself listening to the resonance. The audio from this recording is included below, with a video of me listening.

Ashlin listening to the sounds of the singing fish

Overall, I’m pleased with how this project turned out. I think it pays homage to the beauty and ecological curiosities of Batticaloa in a simple way. I wish more people could have experienced the installation, but hopefully this documentation makes it accessible to a few more. Thank you to Shanjeevan for procuring the oar, without which this project wouldn’t be possible. Thanks to Betty for the additional singing fish recording, and thanks to Lucii, Skye, Harold and Andy for their help with installation and moving things from place to place!

Building a Hydraulic Press & Upcycling Plastics

Creating tools and experimenting with processes to upcycle various plastics.

With:

Dreamspace Collective: Jerushan Sritharan, Jathujan Mahendran, Sajeev Punithakaran, Gabishka Mohanalingam, Kiritharan Mahendran.

Trash For Trade: Abitharani Jeyachandran, Jayanthan Amalanathan.

With help & inspiration from fellow Dinasaurs Andy Quitmeyer, Michael Ang, and William Kennedy at Dinacon 2022

See also: Bendy the plastic heat bender, built by Brian Huang

THE HYDRAULIC PRESS

This press was built specifically for pressing heated acrylic scrap together for acrylic upcycling. The design was based around the materials at hand; it’s a modification of pre-existing designs like this one by petercd and this from Precious Plastics.

Upcycling Used Plastic into Raw Materials

Often people think of plastics shredding as the first part of this process, but it’s not a requirement – you can do this all without a shredder! The basic process is to apply heat to a pile of plastic, then apply pressure to turn them into flat sheets. Plastics like HDPE require minimal pressure, so they do not necessarily need a 8-ton hydraulic press (generally, the pressure supplied by a T-Shirt press will work fine). Acrylic, on the other hand, relies on high pressure after being heated in order to fuse together.

Check out the zine for upcycling acrylic with the hydraulic press:

Laser Cutting and Forming Plastics

Various Acrylic and HDPE upcycled plastics, melted, laser cut, and formed into new artifacts

First day of the finished press! Thanks Sajeev and Jathujan!

Guides:

More Documentation:

References: